
9/21/23: Part Printing Complete

9/22/23: Linux commands
Over the past couple of months, I noticed a strange pattern with the Octoprint instance: it seemed to be slowly and inexplicably running out of memory space. I tried deleting everything I could–all the cached print instruction files (Gcode), as well as all the stored timelapse videos and error logs. However, despite my best efforts, the available storage space steadily decreased.
As I was attempting to use the printer today, I learned that my Octoprint had completely locked up on account of running entirely out of storage space, as seen below. That meant that my only hope of saving the Octoprint instance without having to wipe it and start over was to use the PuTTY SSH connection to go dig deep inside the Linux command line and see if I could delete any extraneous files and get some storage space back. Thankfully, I followed some guides online and was able to successfully remove the extra 3GB of log files that were clogging my system, and now the Octoprint instance is as good as new!

Too many logs filled up my /dev/root file. 0 space left. Now, after the fix, it’s about half and half genuinely “good files” and newly available storage space.
“cd” command allows you to enter a directory.
“ncdu -x” creates a very handy wizard that helps you find the largest files in your system and delete them. I deleted all the log files that were using about 3 GB of space (all that I had left to use).
“pwd” allows you to see which directory you’re in.
“sudo” helps you have admin powers, I believe.
“su” does something similar; I understand something related to the root user.
“ls” helps you see all the subdirectories of your current directory.
“rm” helps you remove a directory or file; append “-r” or “recursive” on the end if you want to delete the whole directory and the stuff inside.
9/24/23: Serial Wombat
Today I edited some of the electronic systems within the plane to make it easier to edit, make the servos more accurate, and overall much better. I found a cool chip called a Serial Wombat earlier this month that I will use to make things a ton easier!
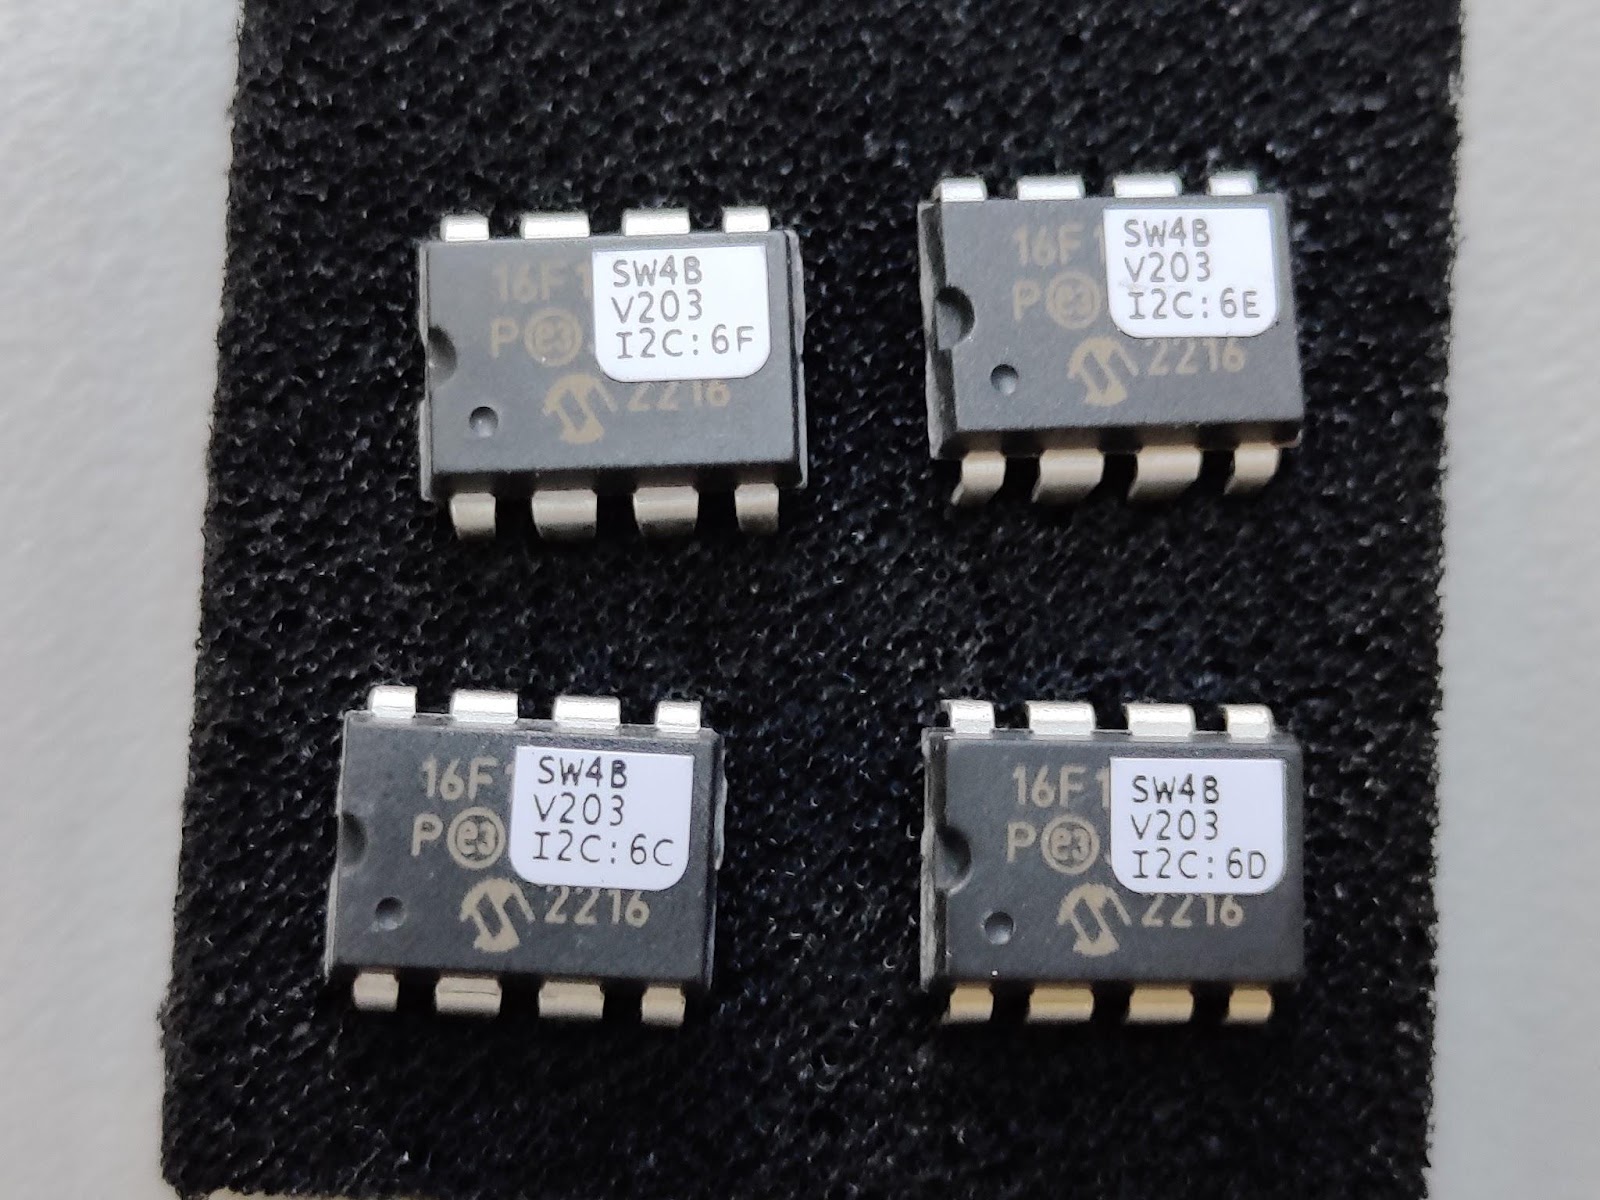


As seen above, the Serial Wombat is essentially a small microcontroller with a timer circuit that can time incoming digital signals or create consistent output digital signals. For an Arduino to do this, it either requires mastery of interrupts or takes up processing time that the Arduino needs for other tasks–vaguely important things some people may have heard of like “thinking”, “reading data”, or “sending other instructions”!
The Serial wombat will be a lifesaver for the project. Each chip can handle up to 4 inputs or 3 outputs, or any combination of the two. The way that I’m going to use the four Serial Wombat chips is as follows:
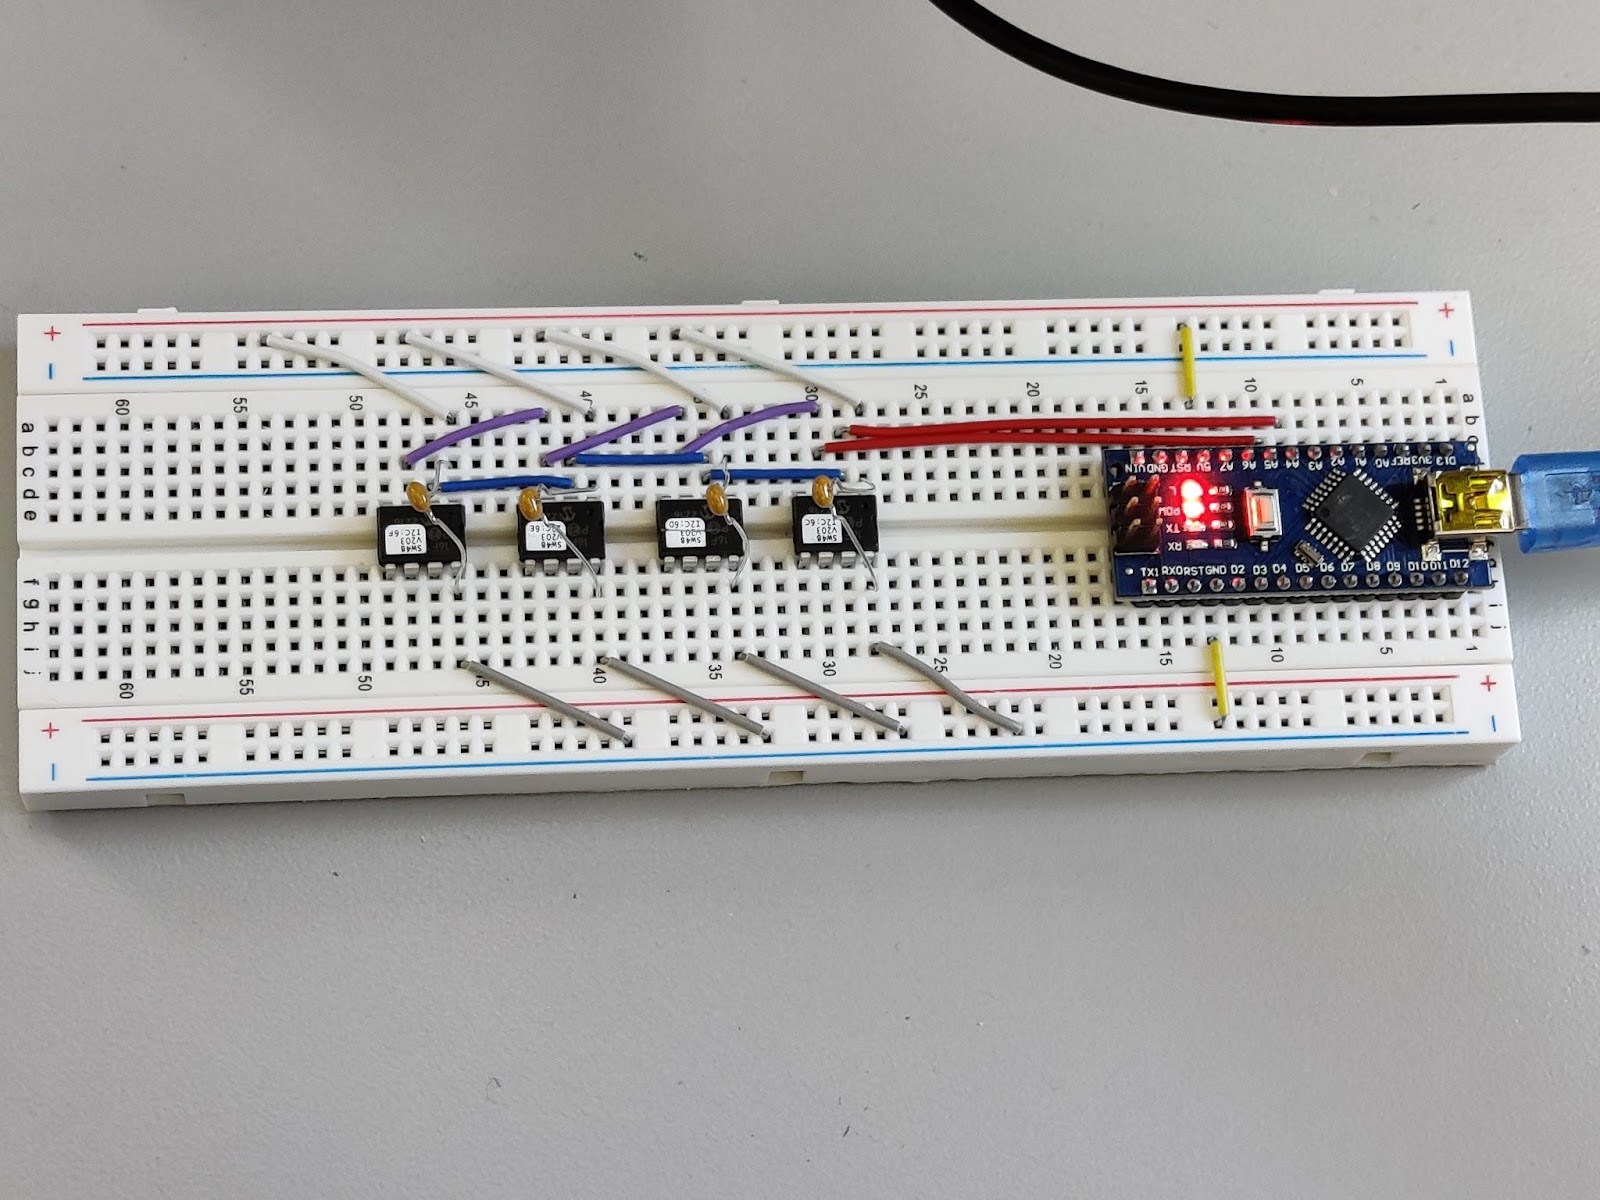
- The first two chips will solely consist of input from the RC receiver. For now, this will only require 4 inputs: aileron, rudder, elevator, and the on/off autopilot switch, so I may consolidate it to 1 chip. However, if I want to add flaps or automatic throttle control later, that will be the best method to do so.
- The second two chips will be for output to the servos. This definitely requires 2 chips, as each chip can only handle 3 outputs. I have at least 4 and maybe more output servos: at the very least, left aileron, right aileron, rudder, elevator. If I want to add throttle control and any flaps later, it will require more attention.
I also realize that I’m going to need to re-print the tail entirely before flight. It’s disappointing to have to scrub the launch for a whole week, but it’s for the best of the plane and the project. In the meantime, it’s back to testing and re-CAD-ing the tail! I would like to have something like a direct-drive gear system for the elevator and rudder, rather than the metal wires that I’ve been using.

Hi, It’s Jon Broadwell. I created the Serial Wombat project. I just found this post today, and I’m really excited you’re using my project inside of yours. For the output control servos, you might take a look at the Serial Wombat 18AB chip. It’s designed with robot / RC control in mind. For instance, the firmware incorporates things like communication timeout – you can have your servos go to a default position (perhaps for a slow, spiraling descent) if the SW18AB doesn’t receive communication from the host within a specified amount of time. This could potentially save the aircraft if the Arduino got in a state where it wasn’t capable of controlling things. I’d love to talk to you more about your needs, and perhaps gather some requirements for future firmware features to support applications like yours. Search for the Serial Wombat V2.1.0 update on Youtube for more info (watch the sections on feeback control and output scaling about 13 minutes in). On the Serial Wombat 4B chip, you might also look at the watchdog function. It’s designed to have a pin that pulls the Arduino’s reset line if the arduino doesn’t check in periodically.
LikeLiked by 1 person
WOW! Mr. Broadwell, I am honored! I watched several of your videos on using the Serial Wombat 4B earlier this year, but just returned to take a look at SW V2.1.0 and the features the SW18AB is capable of. Frankly it sounds like a perfect match. My ultimate goal with the project is actually to experiment with using PID loops on a device as complicated as a plane, so the SW will allow for going straight to the interesting tasks! The timeout function sounds very promising as well.
Quick question: How would you recommend powering the Arduino/SW/servos while inside a RC plane?
The RC plane’s ESC has a 5V servo line output, so I first tried connecting the ESC directly to the RC receiver as usual, and then connecting the Arduino’s 5V/GND pins and my SW4B’s to 5V/GND pins on the RC receiver for power. I feel like a better solution would be two separate power sources such as the battery pack you showed in your demo video, but I’m not sure what the best option is for battery life/consistency/weight.
Just added an 18AB to my Amazon Christmas wish list along with your servo breakout board. Can’t wait to get some more time to work on it. Thanks so much for everything you’ve done over the years on the SW project!
Best regards,
Isaac (Elytraflight)
LikeLike
I’d be happy to support your project with a few extra parts. Writeups like yours help the project a lot. Hit me up at help@serialwombat.com with an address, and I’ll send out a servo board kit and a couple of 18AB chips. For the power supply, I would probably do as you say and separate the electronics from the power supply for your servos and motor. This is a much easier task than trying to design a system that can deal with the sort of power supply spikes and drops that sometimes come with driving inductive loads. The battery pack for the electronics would not have to be very big if it only has to run for 30 minutes or an hour at a time.If you get to the point where you have a system you’d like to transfer from breadboards to a custom printed circuit board, I’d be happy to help with that. That’d be the easiest way to reduce weight and improve reliability.
LikeLiked by 1 person