
9/27/23: New Fuselage Tail, redesigning entire tail


Re-CAD-ed the tail piece! The main improvement is that it is now in one piece, instead of two (improved structural stability and less wobble).
Another side note: currently I am in the process of redesigning the entire tail section from scratch, planning to move the elevator servo up to the top as well as making both the elevator and rudder a direct drive system with gears. I’m also redesigning the hinges, reducing “flop” in the control surfaces due to very thin parts, and hopefully making it a bit lighter as well. Overall it will be a much better design, hopefully!
9/28/23: New hinge design
FINALLY!


Of all of the design tasks I’ve had to deal with on the plane, I’ve found the hinges of the control surfaces to be one of the most frustrating. Either it requires using non-3D-printed materials, which violates the spirit of the project, or alternatively takes some very smart design practices that I had not yet discovered. There are a list of design requirements for the hinge that make it a challenge:
- It has to be very small, and very light. Too large, and it interferes with the aerodynamics of the control surface. Too heavy, and it affects the center of gravity of the plane. This is especially dangerous with the tail, as a tail-heavy plane will result in disastrous crashes.
- It has to be smooth and flexible in its range of motion. An elevator with choppy motion or limited range of motion makes the plane difficult to fly.
- It has to be somewhat strong. The plane will take hits from time to time, and the pressure of the wind will make things more difficult. Hinges have to be able to withstand the stresses put on them.
- It has to be printable. This turned out to be one of the most difficult challenges, as the printer turned out to be not very good at printing perfect cylinders in the sideways orientation (the way they must be printed to be added simultaneously with the horizontal stabilizer). Furthermore, it has to be mostly in line with the horizontal stabilizer, so it has to not extend above or below lest it destroys the printer’s efficiency (pointless support structures, anyone?).
So, if the knuckle and pin hinges are out, what’s next?
Printed a test hinge with the new system. People in the RC plane hobby call this a “pull-pull” system, as rather than having a pin and knuckle system, the two surfaces are joined together simply by the tension of a multitude of tiny threads, strings, or something similar. In this case, in my endeavor to 3D print everything, I’m using small diagonal segments of filament to “stitch” the two pieces together. To my astonishment, the test print worked first try! The miniature hinge could rotate +/- about 80 degrees, which is more than enough for any plane control surface. It was strong enough to not come apart via my pulling (something the knuckle joints could not boast about), and also had a smooth range of motion, was easily printable, and was relatively light.
11/19/23: TPU attempt 2
I am back after a long hiatus! It turns out the college application season makes it impossible to do anything fun. However, with that out of the way, it’s back to interesting projects again! Several months ago, I tried 3D-printing things out of a flexible material known as TPU (thermoplastic polyurethane). TPU is a wondrous material as it is one of the most damage-resistant plastics you can print with (besides insanely difficult ones like Nylon). When under any kind of stress, TPU will stretch; afterward, it will almost always return exactly to its original shape. Some companies have even begun to make shoes out of TPU, which is what caught my attention. It’s been my dream ever since this summer to make my own shoe out of TPU, hopefully for a much lower price than I could get at a store for a shoe my size.
Unfortunately, however, my shoe size (11.5 US) is too large for the printer to print! I would have to print it in two pieces, which would make durability and designability a much greater challenge. Dejected, I put the project on the backburner for now. Plane comes first.
That being said, I still wanted to try printing in TPU again, just for fun. I tried several times to make a benchy (test 3D printed boat), and finally got it to work! I was incredibly confused about what was happening–the first few times, the filament would “expand” or seemingly over extrude especially around corners, to the point where the already-printed filament would collide with the print head and cause all sorts of havoc and ultimately a failed print. The layers also failed to adhere together at all.


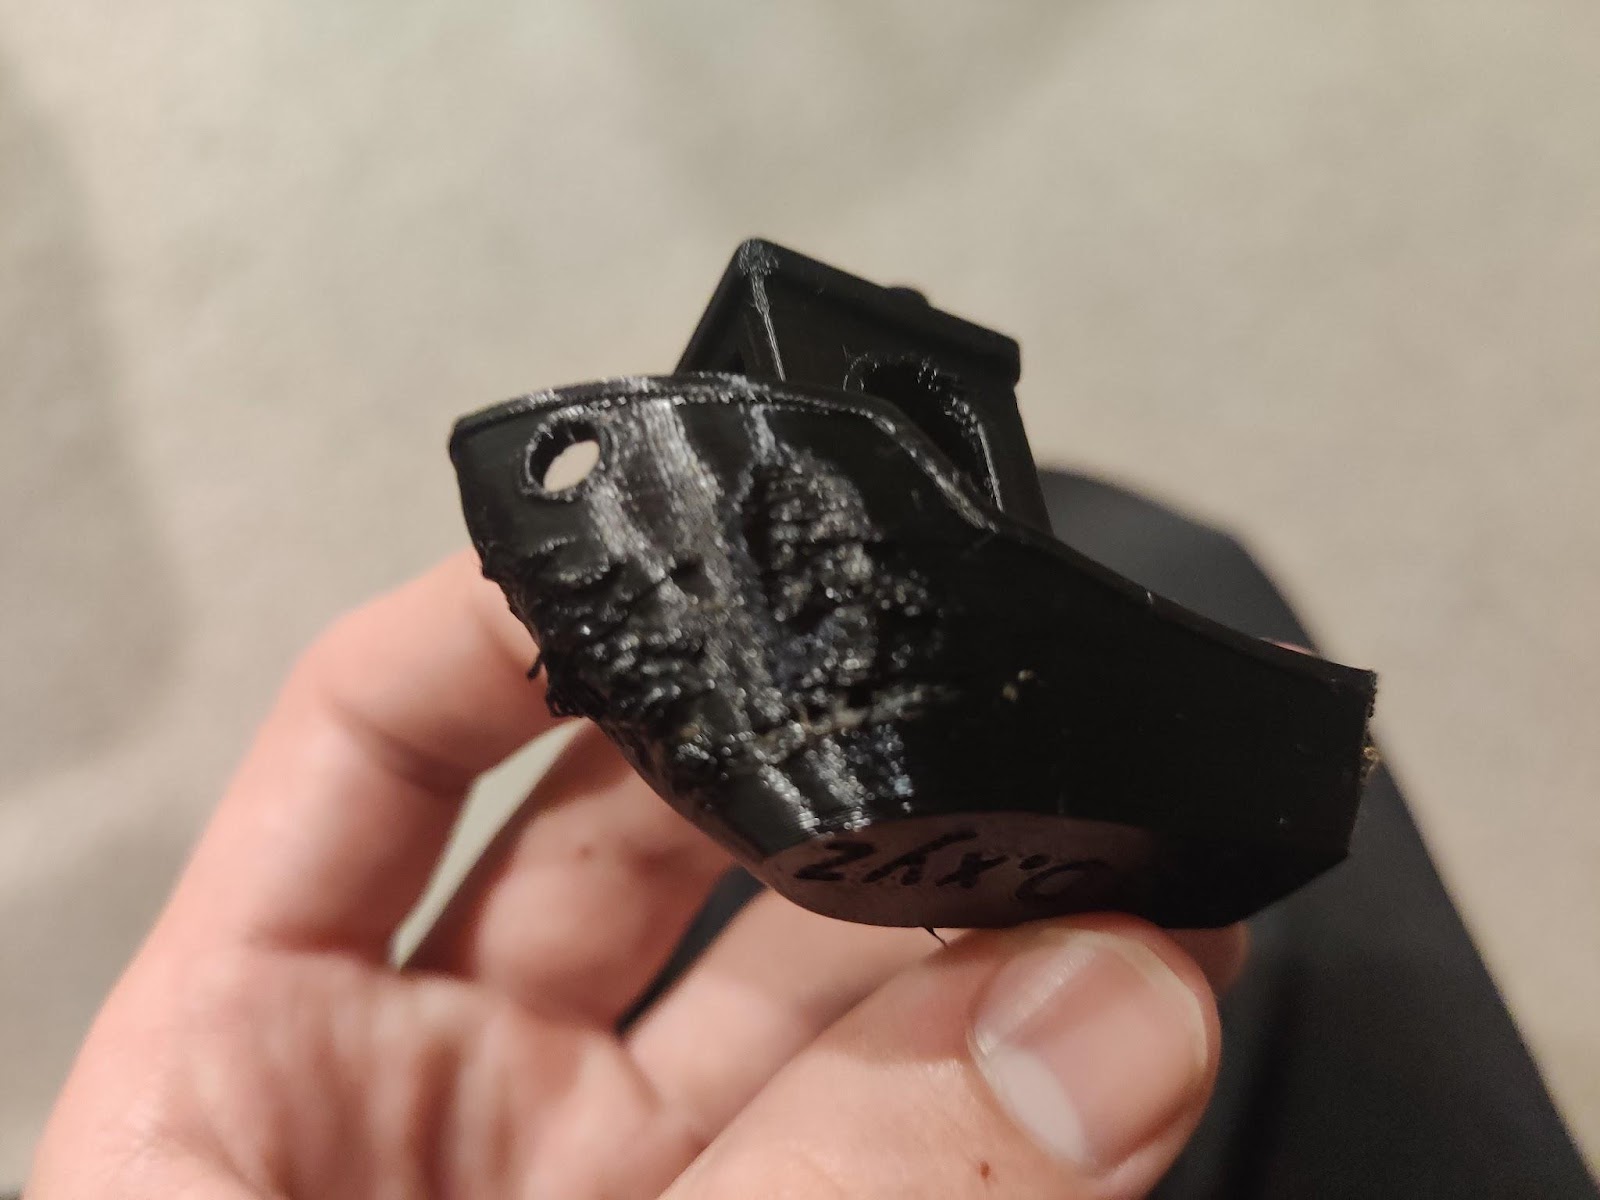
Solution: I decided, instead of trying to make my own printer calibration settings, to use stock settings offered by PrusaSlicer for TPU (UltraFuse TPU-95A). As soon as I switched to PrusaSlicer’s settings, it worked beautifully, as seen in the final image. Absolutely beautiful benchy, and also fun to play with (tugboat-shaped stress balls, anyone?)

